This week we are organizing
stamps and ink pads.

Here are my supplies before sorting. I gathered
all that I have and brought it to one spot to organize.
I wasn't sure where to start on these because,
believe it or not, I really am not a stamper.
I have plenty of supplies to suggest otherwise,
but it is not the first thing I go to when working on a
project or scrapbook page.
Many of my stamps were bought after seeing them on a project, or passing by that little $1 section at the local craft stores.

Because I don't use these on a regular basis,
I tend to not worry about where I store them so
they ended up in several totes, bags, containers and drawers.

Now that you have my sad story, lets start making piles:
Stamp pads
Re-inkers
Stamp cleaners
Tools
Stamps
Set the stamps aside and lets start on the manageable stuff.
Stamp Pads
As we did for the Lotions & Potions,
lets get rid of the dried out, empty and unusable items.
Remember to asks yourself a few questions.
Is this in working order?
If you have a dried out stamp pad toss it out, unless you can buy a re-inker for it. Some companies have bottles of inks that you can drip onto the pads and bring them back to life.
It is an economical way to keep from having to buy
a new whole stamp pad because you can get
several coatings out of one little bottle.
As long as the pad is in good shape,
keep re-inking as needed.
Are the ink pads all in good shape?
If they are flaking onto your projects or torn and leaving
a broken image after stamping...toss it.
Are they pulling apart from their base?
Get the gorilla glue and see if you can reattach it...if not, toss it.
Do I like it enough to use it again?
Have you ever bought color that really didn't look as pretty as on the pad?It frustrating when there is a vibrant color ink pad and when I use it the color is not vibrant at all.
OR
It inks my papers beautifully a few times and dries up
by the end of the project. (Even when I remember to cover it.)
These are the ones I have tossed or sent to the blessings box.
Has it served its purpose and is ready to give away?
If you have bought materials for a specific project and have decided that you will not use it again, pass it on to a friend who
might get some use out of it.
OR
send it to the blessings box.
For the re-inkers and cleaners. Make sure these to are working as they should. Toss out the empty or clogged bottles, then,
decide how you would like to store them.
You can store them with your other Lotions&Potions
OR
Store them with other cleaners like the adhesive cleaners,
OR
Store them with your stamp pads.

I store mine on the top of the drawers housing my stamps.
I did not have very many so this seems to work best for me.
Next is tools.
This may be clear blocks, stamping T-square,
blending foam and blenders, or anything else you pull out
with your stamps that is not a stamp or ink pad.
Make sure these are items that you are using
and that they too are in good working order.
Now for the stamps.
After gathering my stamps I started making piles:
Christmas
Halloween
Fall
Nature
Birthday
Flourishes
Alphabets
Sentiments
Other
This was the first sort to see what I had. I continued to
make piles for each set of stamps that I had multiples of.
For sets such as St. Patricks and Easter I placed these into
a catagory for Spring since I had just a few of each.
The "OTHER" pile was pretty large so I had to see where I
could sort down further. As it turned out it was lots of sets.
Sets that had stamps that could fall into several categories.
For those I decided to break the set up and sort into the proper category. I did this by mounting the stamp onto an acrylic sheet
along with the stamped cellophane image that came with it.

Once everything was in a category it was time to store.
I placed any foam, or wood block stamps for Christmas, Halloween and Fall each into plastic shoebox size totes and stored them in a cabinet with the rest of my Holiday papers and embellishments. This way they are all in one area when I am ready
to work on those seasons.
The rest I sorted in one of two ways.
The clear stamps are filed in sections in drawers.

The dividers are made from cutting down
cardboard boxes into 9x7 size card to fit the drawer.
I labeled and alphabetized the sections and filed the stamps accordingly.
The foam and wood block stamps are in their own set of drawers.

All are labeled and in a spot that makes it easy to find.
By sorting through them I was able to rediscover what I have.
I removed the ones I will no longer use and placed those in the blessings box, which made room for the ones I want to keep.
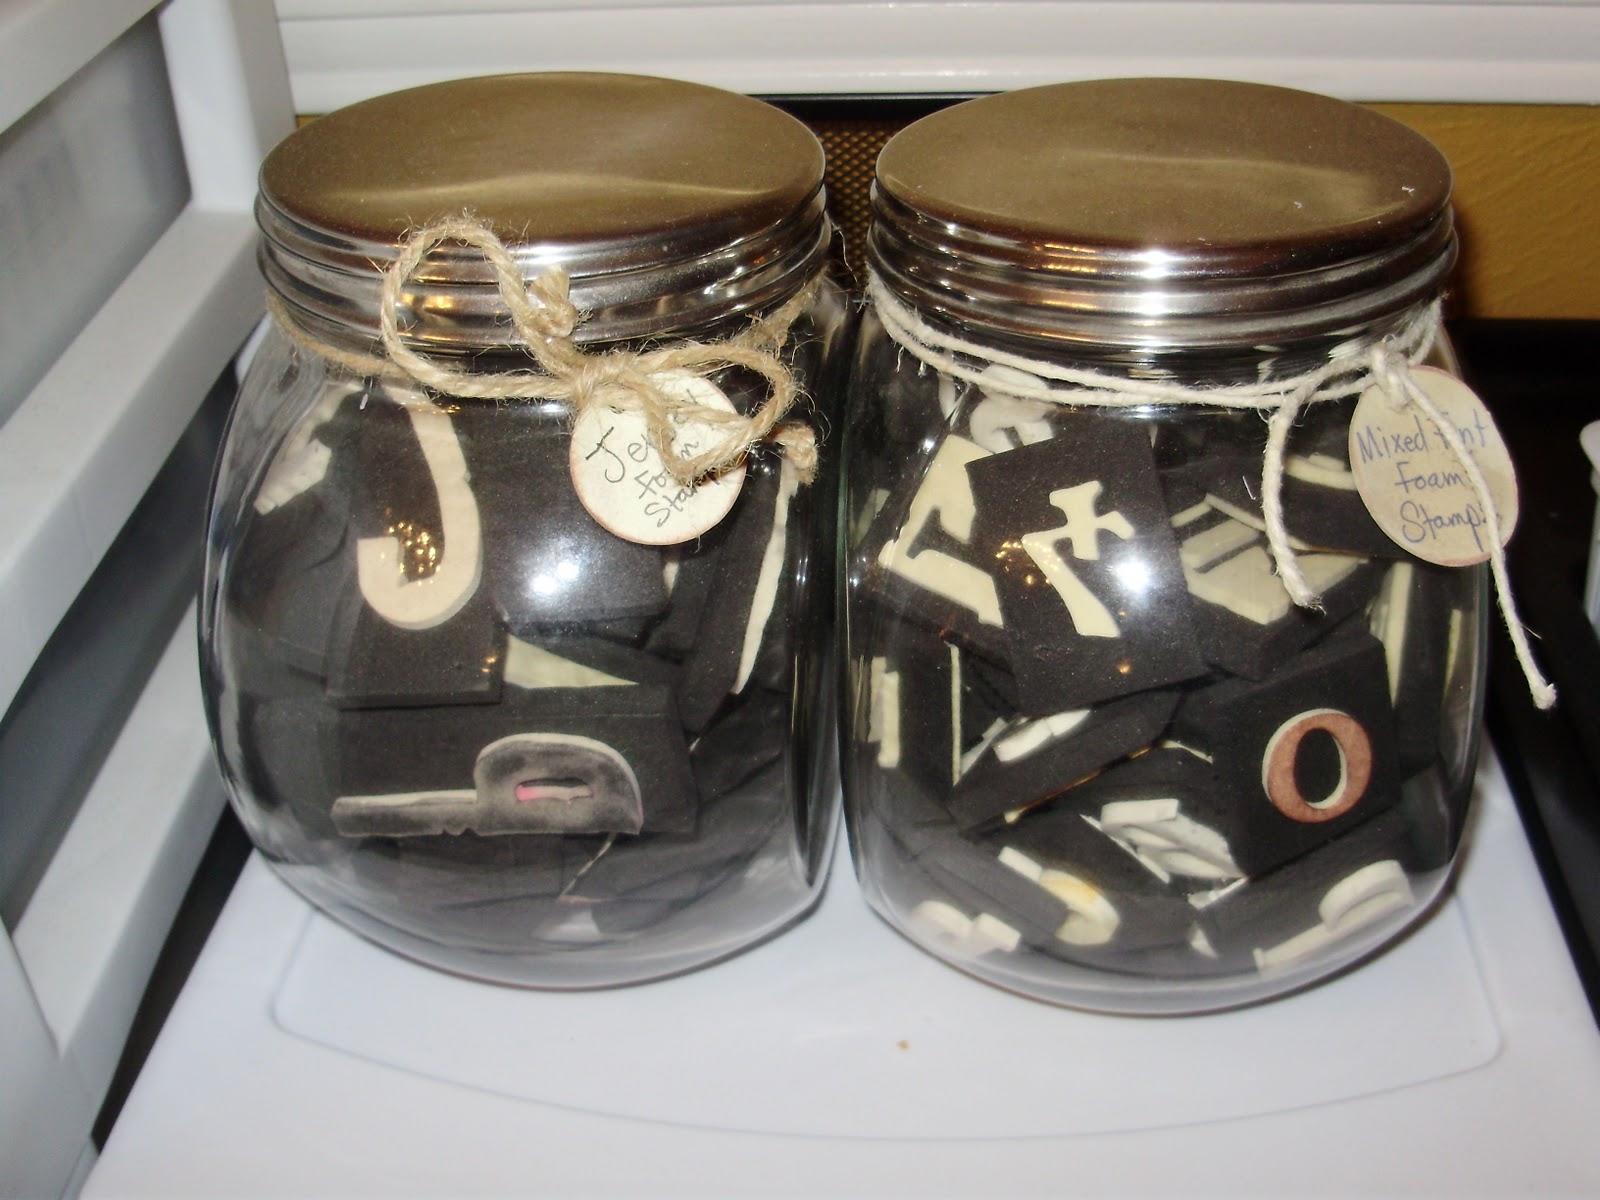
To add a little style I kept a set of mixed fonts in these candy jars. The sets are what I go to first when I want to stamp an inked or painted title on a project. It makes it easy to put away after cleaning plus I like how it looks in the jars.
For more ways to store and add style to your
stamps and inks,
go to the Little Blue House blog and see
what Susan does to store her stamp collection
and what ideas she may have for yours.
Remember, there are prizes to be given away.
Miss Tracy still has some CHA treasures to pass on to one
lucky commenter. Check in to see if you are last weeks
winner and leave another comment to try for this weeks drawing.
Thanks for checking in. I hope I have helped you to get started.
Merry Organizing Everyone!
Rhonda
wow Rhonda you do have quite a collection of stamps there for someone who doesn't stamp lol!!
ReplyDeletei love the idea of stamping too but never use mine either. Maybe we need to challenge ourselves to use them!!!!
Following your organising process had given me lots of ideas, thanks x