Welcome to Day 2 of our 12 Days of Ornaments!
Thank you for joining me today. I am so excited to show you
my ornament. I had a great time making it. Especially because
my son, who was home from college for the weekend,
was a willing photographer for the steps.
I love handmade ornaments. I have made ornaments for
my Christmas tree every year since my kids were little.
Usually with my kids but now with the Little Blue House.
I will never tire of this.
Today I have a lovely little Christmas tree
ornament to make with you. It seems like a lot of steps
but it didn't take long to complete at all.

List of Supplies used:
4" round paper mache ornament
small print paper by Authentique
green paper for tree by American Craft
Fiskars leaf/petal punch
Pencil
tweezers(optonal)
Heat gun(optional)
craft paint:Folk Art Metallic Gold
gold wired tinsel trim
Maya Road star pin
paint brush
Quick Quote Chalk Inks: Limeade, Biscotti
Helmar 450 or a quick dry adhesive
Mod Podge
cork, scrap piece of for trunk
Here's how I made it...

Paint the edge of the ornament
with the Metallic Gold paint and let dry.
(You can speed up the dry time with a heat gun)

Using the ornament as a template,
draw 2 circles with your pencil and cut out.

Coat both, the back of your paper circles and
the ornament with Mod Podge.

This will give you a slick surface to better
position the papers.

Trim excess paper and ink the edges with
the Biscotti Chalk Ink.

To make the tree I used the Fiskars
leaf/petal punch. The smaller leaf
is what I used to make the tree.
I'll save the larger leaves for another project.

Ink the edges of the pieces.

Using a pencil or your paint brush, give
the leaves a little curl by pressing and rolling
in your hand.


Next, attach the trunk and place the star to
give you an idea of the placement for your first
tree piece. Start from the top and work down.
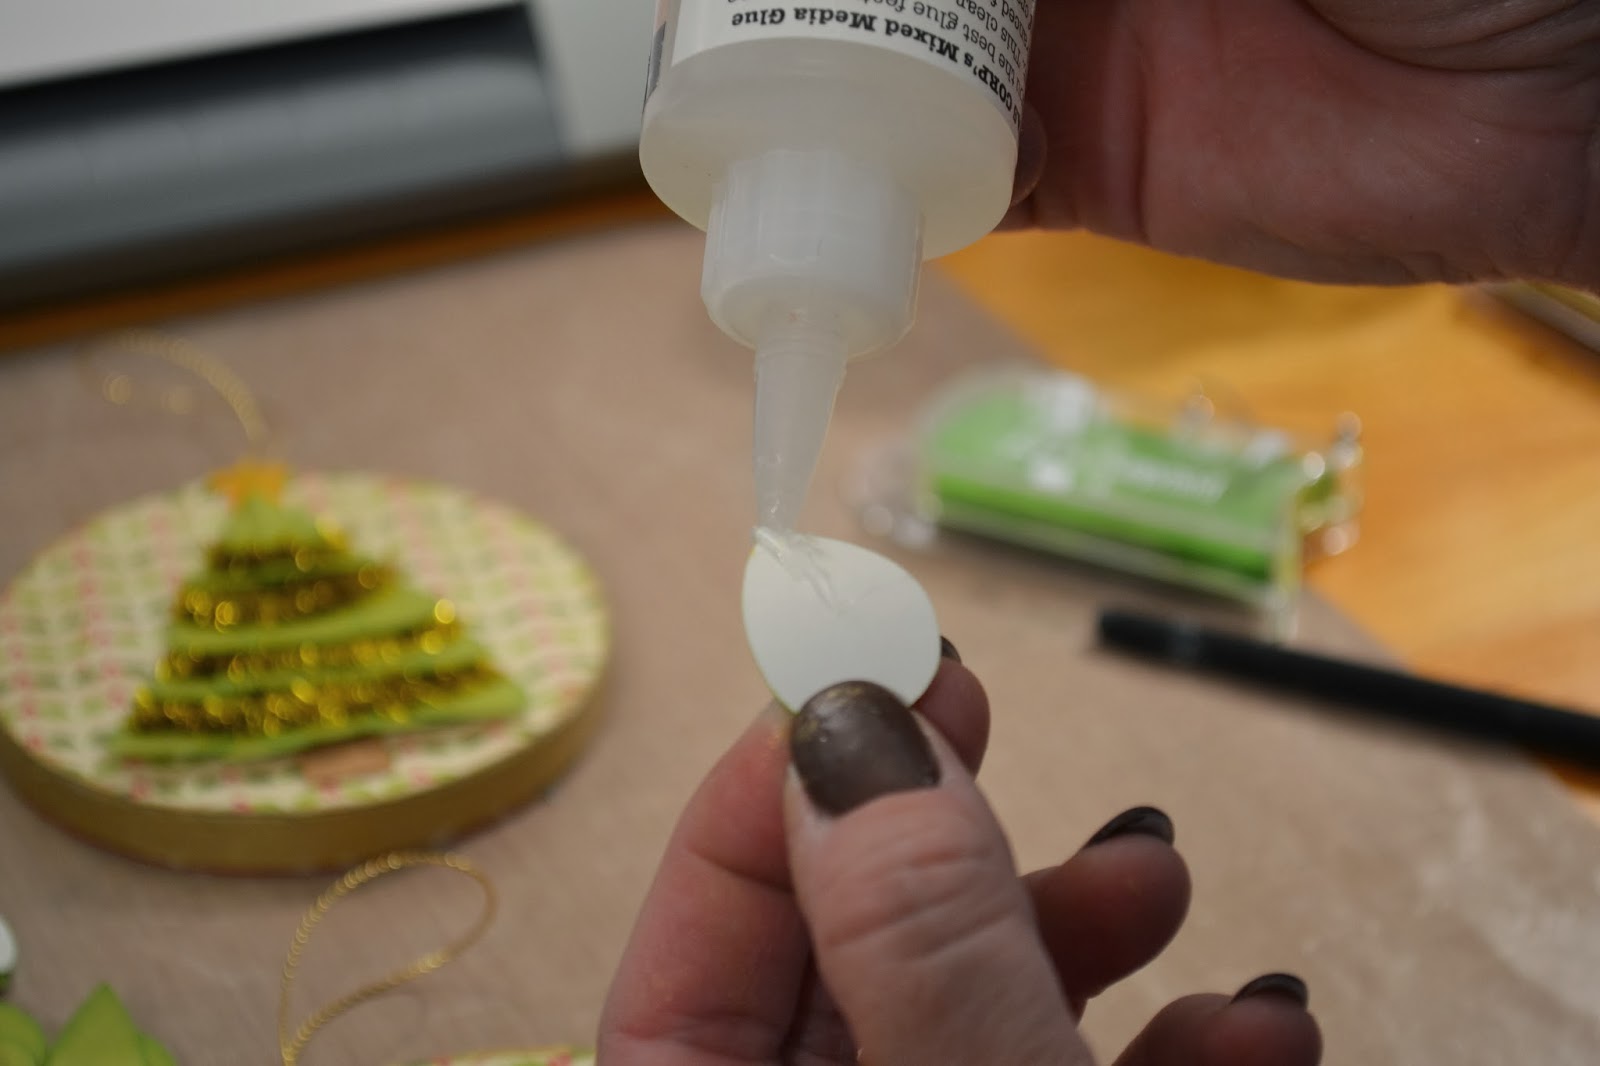
Place a little dollop of your quick dry
glue on tip of leaf,

and layer.


The great thing about the tacky glue
is that it is forgiving and will allow you
time to adjust the leaves of your tree.
Time to trim the tree.

Place your star.

Measure out the tinsel and clip.

Place a little glue under branches,

and adhere your tinsel trim.

Oh, Chrsitmas tree,
how lovely are your branches...
Now, the next step is to hop over to the
Little Blue House blog and leave a comment
for a chance to win one for yourself.
I made an extra just for a lucky comment-er.
The LBH gals appreciate you so much and enjoy
creating for you, and this is our way of saying thank you for
being a part of our crafting world.
Merry Crafting everyone.
Rhonda
Cute tree ornament...great tutorial :)))
ReplyDeleteAdorable!! Awesome tutorial!
ReplyDeleteThis is so cute!! Think I'm going to have to make this one. :-)
ReplyDeleteVery cute! Great step by step instructions too x x
ReplyDelete